


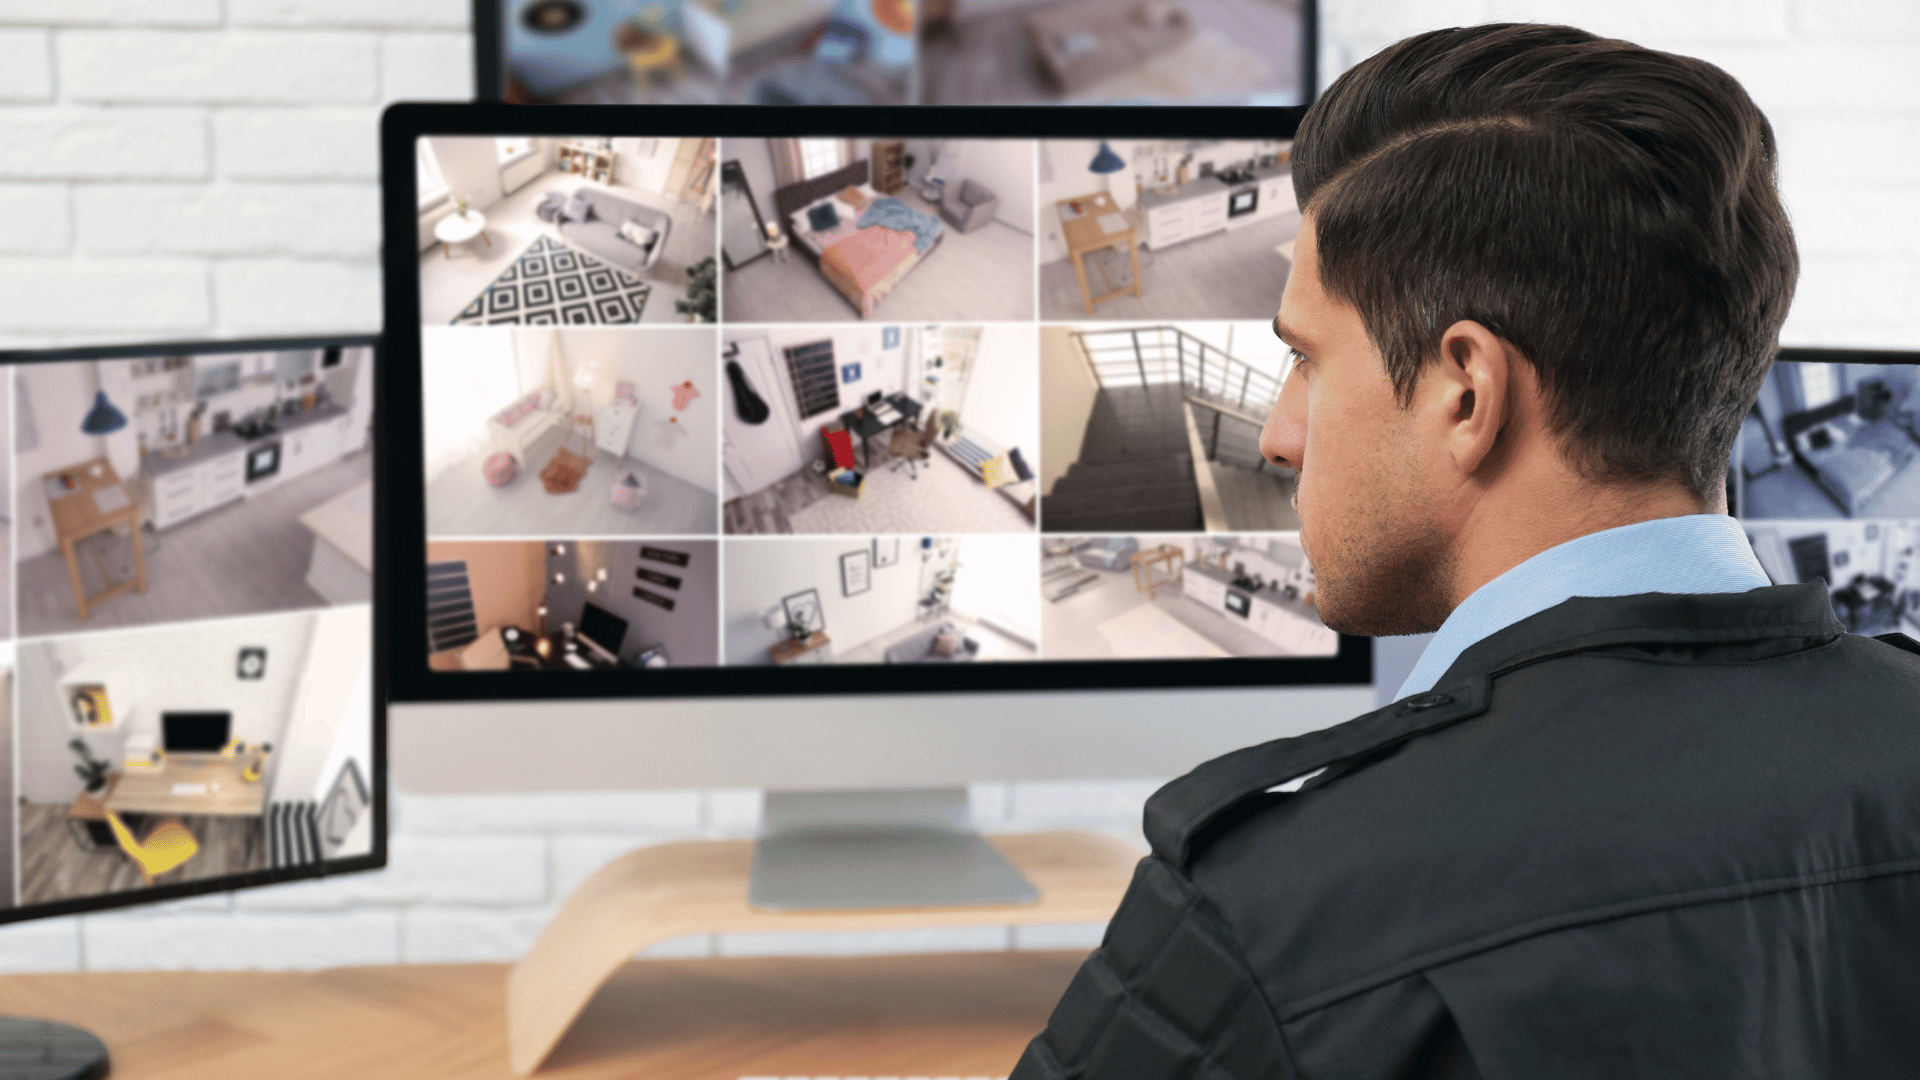
If you’ve bought an analog CCTV system from us, you might be wondering how you can view your cameras. While you can monitor your camera feed through a monitor connected to your DVR, what if you prefer streaming from your smartphone, tablet, or laptop? Fortunately, we have mobile apps and software for our DVRs. The specific app or software you use depends on which model you have. In this guide, we’ll cover models from our 2MT-7XXX and 2MT-7XXX-O Series. We’ll answer your question regarding which app and software to use for viewing your cameras, along with instructions for setting them up for on-site and off-site monitoring.
Mobile App & Software List for 2M DVRs
The table below displays the different 2M DVR models along with the corresponding mobile app and PC software they should be paired with. If you own a model from our 2MT-4XXX or 2MT-5XXX Series, you can find the guides for those here and here. In this guide, we’ll only be covering 2MT-7XXX and 2MT-7XXX-O Series models, including: 2MT-7004, 2MT-7008, 2MT-7116, 2MT-7232.
| Model | Mobile App | PC Software | Software Download Link | Web Browser Accessible |
|---|---|---|---|---|
| 2MT-4004, 2MT-4008, 2MT-4088, 2MT-4016 |
2M Guard | 2M Station | Windows MAC |
✓ |
| 2MT-5004, 2MT-5008, 2MT-5116 |
iPhone: 2M Live Pro Android: VSS Mobile |
2M Live | Windows MAC |
|
| 2MT-7004, 2MT-7008, 2MT-7116 |
iPhone: 2M Live Pro Android: VSS Mobile |
2M Live | Windows MAC |
|
| 2MT-7232, 2MT-7XXX-O Series |
SuperLive Plus |
How to View Cameras with Mobile App
2M Live Pro & VSS Mobile
iPhone users will use the 2M Live Pro app, while Android users will use VSS Mobile. Since both apps share identical layouts and options, their setup instructions are the same. 2M Live Pro and VSS Mobile work with the following 2M Technology DVR models: 2MT-7004, 2MT-7008, 2MT-7116.
- Download the app on your phone. Choose Sign Up to create an account, or select Skip Login if you prefer not to.
- Log in to the menu of your DVR. Navigate to App > P2P. Make sure that the status for your DVR shows as “Online”.
- Add your DVR to the app using one of the two methods explained below.
Method #1: Adding DVR Using Device ID & Password
- When in the P2P section of the DVR’s menu, make a note of the unique Device ID and Password (this password is not the DVR’s password and is used only for adding the DVR to the app).
- Go to the app and tap on Device Manager.
- Tap on the yellow plus sign at the bottom.
- Tap on the green plus sign on the right side.
- Input the Device Name (can be any name you prefer), Device ID (from the DVR’s P2P section), and the Password (from the DVR’s P2P section).
- Tap on the save icon in the upper-right corner.
- Return to the app menu and tap on Live View.
- Tap on the horizontal line icon in the upper-right corner.
- Select the DVR you just added and press the play icon beside it to start viewing.
Method #2: Adding DVR Using QR Code
- After logging into the app or skipping login, you will see the app menu. Tap on the square icon in the upper-right corner.
- Use your phone to scan the QR code that is shown in the P2P section of the DVR’s menu.
- Tap on the save icon in the upper-right corner.
- Return to the app menu and tap on Live View to start viewing.
SuperLive Plus
SuperLive Plus is to be used with 2MT-7232 and 2MT-7XXX-O DVR models.
- Download the mobile app to your phone and ensure that the DVR is connected to a network.
- On the DVR, go to the menu and navigate to Setup > Network > NAT.
- Make sure that NAT is enabled. Once enabled, a QR code will appear.
- If the QR code doesn’t show up, you can find it under Information > QRCODE.
- Open the mobile app, where you’ll see the Live View screen.
- Tap the toggle icon in the upper-right corner, which will open the Server List.
- Tap the plus icon in the upper-right corner to add your DVR.
- To add by scanning the QR code, tap the square icon in the upper-right corner and enable access to your phone’s camera. Then, use your phone to scan the DVR’s QR code.
- If you cannot scan the QR code for some reason, you can manually input the serial number displayed below it.
- Assign a name to the device (it can be anything) and enter the username and password of the DVR.
- Save the device and return to the Live View screen to add your DVR to the live view.
- Locate the dropdown list of your online devices below the windows. Select the DVR you just added, and the cameras will appear on the screen.
How to View Cameras with PC Software
2M Live
2M Live is the desktop program used to view the cameras connected to your DVR on-site and off-site. 2M Live works with the following 2M Technology DVR models: 2MT-7004, 2MT-7008, 2MT-7116.
Note: MAC does not support the P2P option, so you will only be able to view your DVR locally. If you are wanting to view your cameras from a different location (remotely) on MAC, the DVR will need to be port forwarded.
- Download 2M Live. You can find the download link in the table above.
- Run the program and log in using the default username admin and password 123456. It is recommended to change the password after installation.
- To add your DVR, go to Resource > Device Manage > Encoder.
- If the DVR is connected to the same network as your computer, it will be listed under Device Online.
- Add your DVR to 2M Live by following one of the two options below: adding a DVR for local viewing or adding a DVR via P2P for off-site viewing.
- Once the DVR has been successfully added, go to the Home screen and click on Realtime Video. This will bring up the live view for your cameras. The windows will be empty because you have not added your cameras to the live view yet.
- The right side of the screen will list all added devices. To add your cameras to the live view, click and drag the DVR onto the live view screen to load all camera views.
- If you don’t want all cameras to appear in the live view, click on the plus sign next to the device name to reveal the list of cameras connected to the DVR. From there, you can drag specific cameras onto the live view screen.
- At the bottom of the screen, you have the option to adjust the number of live view windows you wish to have open at a time.
Option #1: Adding DVR for Local Viewing
This method will only add your DVR to the software for local viewing. If you want to view your cameras from another site, follow the instructions for Option #2 below.
- Check the box for the DVR under Device Online.
- Then, click Add.
- Follow the rest of the main instructions to add your cameras to the live view.
Option #2: Adding DVR By P2P for Remote Viewing
If you intend to view the cameras from a different location, the DVR must be added to 2M Live via P2P.
- First, we need to get some information about the DVR that will be required later. Open your DVR’s menu and go to App > P2P. Make sure that the status says “Online”.
- Make a note of the Device ID and Password (this password is not the DVR’s password and is used only for adding the DVR to the software).
- On 2M Live, click on Add Device in the Managed Devices section.
- Another window will pop up, titled Device Edit. Change Way to Login to P2P Login.
- It will prompt you to fill out the following information: Device Name (you can use any name for the DVR), P2P Account (the Device ID of the DVR), and Password (the unique password given by the DVR).
- Click Save.
- Follow the rest of the main instructions to add your cameras to the live view.
Contact 2M Tech Support for Inquiries
We hope that this guide helped with the setup of your camera viewing. If you have a DVR model from our 2MT-4XXX or 2MT-5XXX Series, we’ve written guides for those in our previous posts, so make sure to give them a read. For additional resources, feel free to explore our Knowledge Base linked below.
If your DVR model wasn’t covered, don’t hesitate to reach out to our technical support specialist at +1 (214) 988-4302 or at ana@2mtechnology.net. They can answer any inquiries, as well as provide guidance on installation or troubleshooting.