


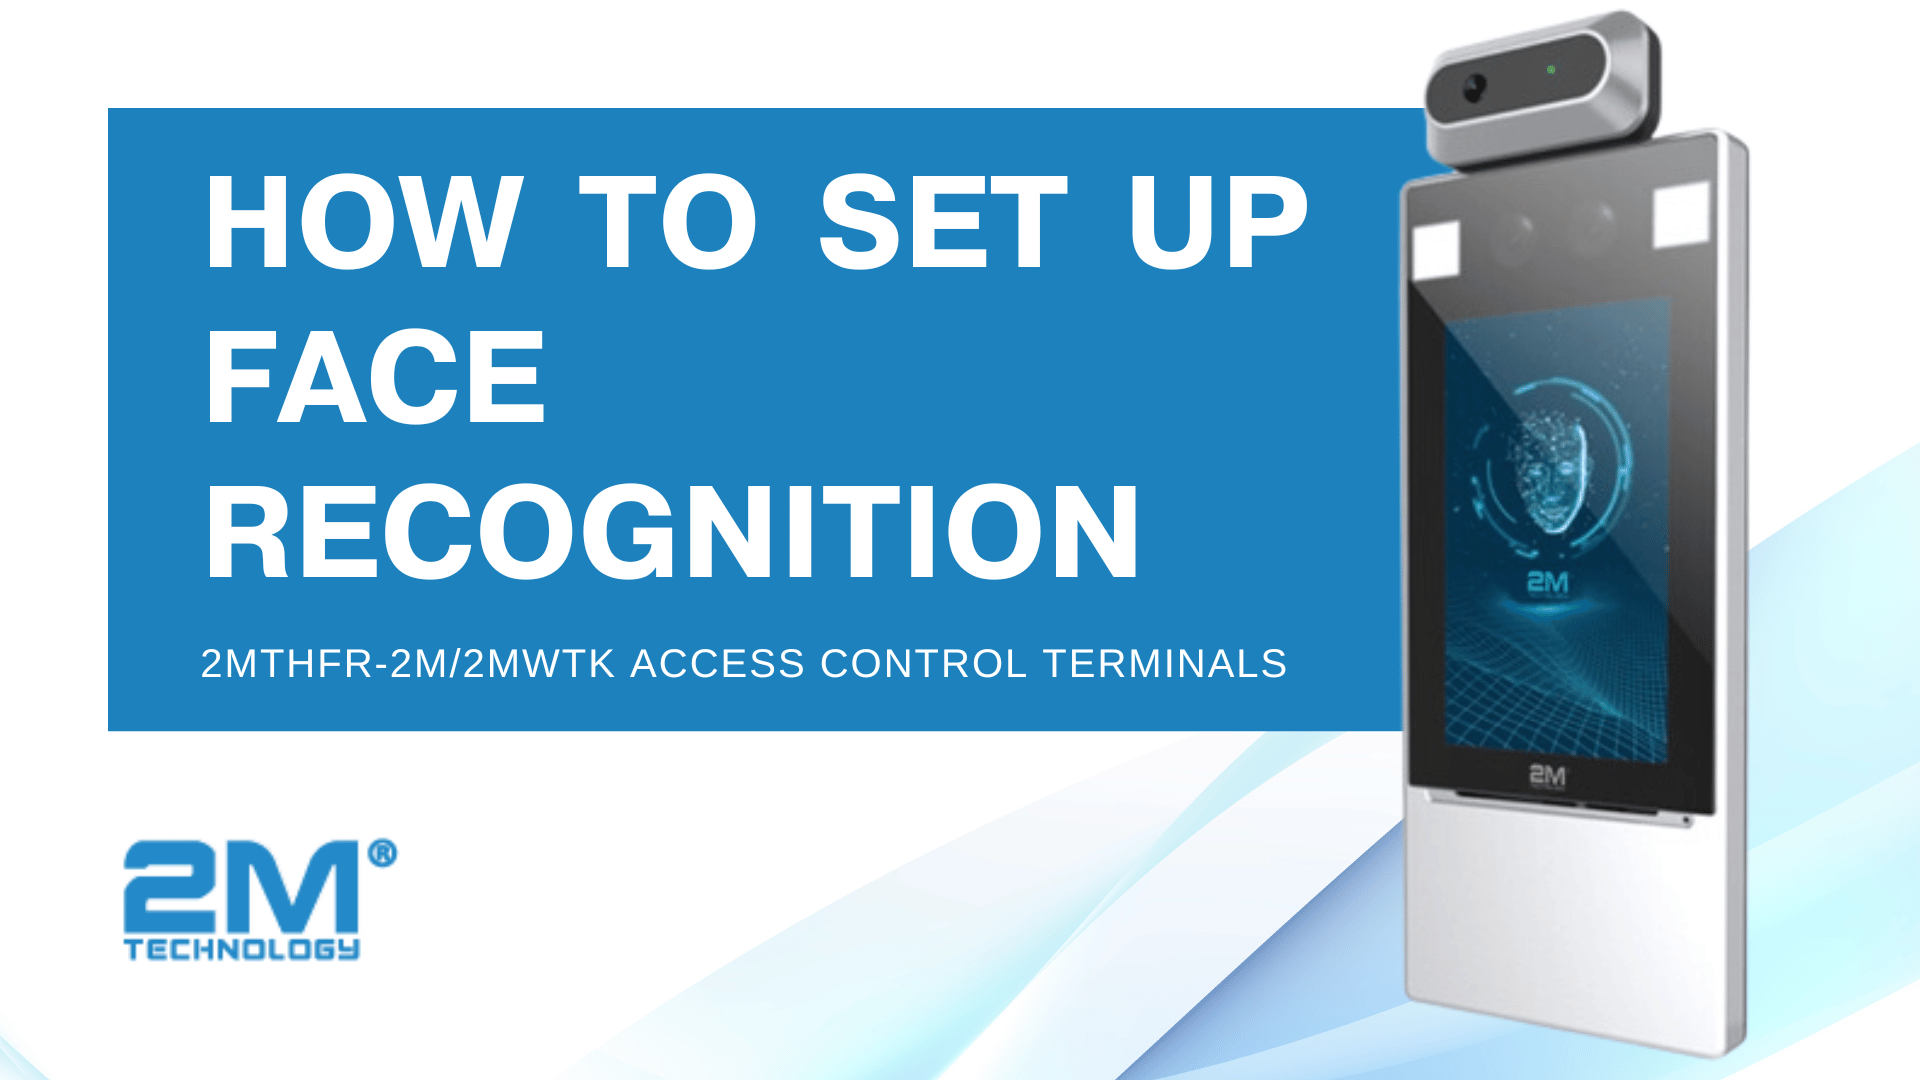
When it comes to access control, face recognition is probably the most secure and convenient authentication method because it uses biometric data, which is difficult to duplicate or share. Our 2MTHFR-2M/2MWTK access control terminals offer a range of face recognition-based verification options. Whether you want to use face recognition alone or combine it with temperature measurement and card-based authentication, these terminals can be customized to meet your specific access control needs. This guide will walk you through the different face recognition methods available and help you set up the option that best suits the needs of your organization.
Steps for Setting Up Face Recognition
No matter which face recognition method you choose, you’ll need to pre-register authorized users in the system with their face images. Registering users informs the terminal who is allowed to enter, and provides a reference image for the terminal to cross-check against to confirm a person’s authorization.
1. Collect Face Images
The setup process starts with collecting a facial image from each user, which will be used to register them in the system. These face photos must meet the following requirements:
- General requirement: The photo must be a full-face image with no head coverings. Only the individual being registered should be in the photo.
- Range requirement: The photo must include the full outline of both ears and capture the area from the top of the head (including all hair) to the bottom of the neck.
- Position requirement: The face must be positioned within the limit box on the terminal’s interface.
- Makeup requirement: The individual should not wear makeup that alters their natural appearance, such as eyebrow or eyelash makeup.
- Background requirement: The background should be white, blue, or another solid color.
- Light requirement: The photo should be taken with proper lighting, avoiding excessive darkness or brightness. Photos where the face appears too dark, too bright, or unnaturally colored should not be used.
2. Register Users In the Face Library
After gathering face images from users, we can register them in the system to ensure the terminal recognizes them during entry. Users can be uploaded individually or in batches. For both methods, start by logging into the terminal’s web page. To do this, enter the terminal’s IP address, which is displayed in the lower-left corner of the screen, into the search bar of Internet Explorer. Log in using the password you created when you first set up the terminal.
Single Upload Instructions:
- From the web page, navigate to Setup > Intelligent > Face Library.
- The left side displays your list of face libraries. Select the face library you wish to add the user to.
- Click Add on the right side of the face library list.
- Input the user’s information on the Add Face Info page. Number and Name are required fields. You’ll also need to upload a face photo.
- If the user will also be required to present an access card, enter their Card Type and Card Number. You can add a second card if needed.
- Click OK to save the user.
Batch Upload Instructions:
- Download the batch import template by going to Setup > Intelligent > Face Library > Export Template.
- Unzip the file to access the template, which is a .csv file.
- Fill out the necessary fields for each user. Number and Name are required. You’ll also need to provide a face photo by entering the file path and file type for the image (e.g., C:\Users\Public\Pictures\employee.jpg).
- If users will also be required to present an access card, enter each user’s Card Type and Card Number. You can add a second card if needed.
- After completing the template, return to the web page and navigate to Setup > Intelligent > Face Library.
- Select the face library where you want to add users from the list on the left, then click on Batch Import.
- Choose and upload the completed file.
- If any uploads fail, the terminal gives you the option to export the Failure Import Information Record. This record shows which users failed to import and provides an explanation for the failure.
3. Enable Face Recognition Method On the Terminal
Once users are registered in the system, the final step is to enable face recognition as the authentication method on the terminal. You can opt to use face recognition alone or with another method, such as temperature measurement, card-based access, or both. The instructions for enabling face recognition will vary based on the combination you choose.
Face Recognition + Temperature Measurement
When face recognition and temperature measurement are enabled, the terminal checks if the individual is in the face library and scans their temperature. Access is granted if the individual is registered and has a normal temperature. Enabling Face Recognition + Temperature measurement can be done either through the terminal itself or the terminal’s web page.
Terminal Instructions:
- Access the terminal menu by pressing and holding your finger on the screen until the login screen appears.
- Log in using the password you created when you first set up the unit.
- From the menu, go to Authentication Scene. Select Face Recognition + Temperature Measurement.
Web Page Instructions:
- From the web page, navigate to Setup > Intelligent > Check Template/Auth Schedule.
- In the template, select Face as the authentication method in the box next to Time Interval1.
- At the bottom of the template, check the box for each day where you want to use Face as the authentication method. Afterward, click the Copy button next to that selection. If you want to use Face for every day, tick the Select All box next to Copy To.
- Save the template.
- Temperature measurement is already enabled by default for door access, so no further action is required.
Temperature Measurement Configuration Instructions:
Based on the configuration, you can choose to deny access if a person with a recognized face has an abnormal temperature, or allow access even if the temperature is high, provided face recognition is successful.
- From the web page, go to Setup > Intelligent > Advanced Setting/Intelligent Rules > Temperature Measurement.
- Make sure that the box next to Temperature Measurement is checked, indicating that the terminal will read temperature.
- Below this section, find the option labeled Authentication Failed And Open the Door/Don’t Lock Door. If Off is selected, the terminal will not open the door for individuals with a high temperature. If On is selected, the terminal will open the door even if the temperature reading is high.
Face Recognition Only
Face recognition can also be used as the only authentication method. In this case, when someone approaches the terminal, it will only scan their face to verify if they’re authorized in the system. By default, temperature measurement is enabled for door access. To use face recognition only, you’ll need to disable temperature measurement, which can only be done through the terminal’s web page.
- Follow the instructions above for enabling Face Recognition + Temperature Measurement through either the terminal or the web page.
- To disable temperature measurement, navigate to Setup > Intelligent > Advanced Setting/Intelligent Rules from the web page.
- Uncheck the box next to Temperature Measurement to turn off this option. The terminal will no longer read temperature.
Face Recognition + Temperature Measurement + Card Access
Using face recognition, temperature measurement, and card access together as the authentication method offers the highest level of security and safety. When all three methods are enabled, a person must satisfy all criteria to enter: their card number must be found in the system, their face must match the registered face image for the card, and they must have a normal temperature.
- From the web page, navigate to Setup > Intelligent > Check Template/Auth Schedule.
- In the template, select Card + Face as the authentication method in the box next to Time Interval1. **NOTE: Do not select Face and Card separately. When multiple authentication methods are selected, the methods function with an “OR” condition, meaning access is granted if either Face OR Card verification is successful.
- At the bottom of the template, check the box for each day where you want to use Card + Face as the authentication method. Afterward, click the Copy button next to that selection. If you want to use Card + Face for every day, tick the Select All box next to Copy To.
- Save the template.
- Temperature measurement is already enabled by default for door access, so no further action is required.
Temperature Measurement Configuration Instructions:
You can configure the settings to deny access to users with abnormal temperatures even if they are recognized, or to grant entry as long as the other verification criteria are met.
- From the web page, go to Setup > Intelligent > Advanced Setting/Intelligent Rules > Temperature Measurement.
- Make sure that the box next to Temperature Measurement is checked, indicating that the terminal will read temperature.
- Below this section, find the option labeled Authentication Failed And Open the Door/Don’t Lock Door. If Off is selected, the terminal will not open the door for individuals with a high temperature. If On is selected, the terminal will open the door even if the temperature reading is high.
Face Recognition + Card Access
Enabling face recognition and card access as the authentication method requires each person to first present their access card and then have their face scanned by the terminal. To gain entry, their card number must be found in the system, and their face must match the registered face image for the card. By default, temperature measurement is enabled for door access. If you want to use only face recognition and card access, you’ll need to disable temperature measurement.
- Follow the instructions above for enabling Face Recognition + Temperature Measurement + Card Access.
- To disable temperature measurement, navigate to Setup > Intelligent > Advanced Setting/Intelligent Rules from the web page.
- Uncheck the box next to Temperature Measurement to turn off this option. The terminal will no longer read temperature.
Contact the Access Control Professionals at 2M Technology
Our 2MTHFR-2M/2MWTK access control terminals offer a range of face recognition-based methods, giving you the flexibility to use the one that best suits your needs. We hope this guide has helped you navigate the setup process smoothly. For additional questions or troubleshooting, don’t hesitate to contact our technical support specialist, who can assist you with all your access control needs. You can reach them by phone at +1 (214) 988-4302 or by email at ana@2mtechnology.net.