Knowledge Base
How to Set Up 2M Station New Version
2M Station is the PC software to view your cameras on your computer on and offsite. This program only works with models: 2MT-4004, 2MT-4008, 2MT-4088, 2MT-4016, 2MN-8004-P4, 2MN-8008-P8, 2MN-8116-P16, 2MN-8116-P16-P, 2MN-8232-P16, 2MN-8232-P16-P, 2MN-8432-P, 2MN-8464, 2MN-85128-C and our IP cameras.
Please follow the prompts to install the software. When it’s done installing, the software will prompt you to create an Administrator user and a password for it. After you’re done creating it, you will see the following screen:
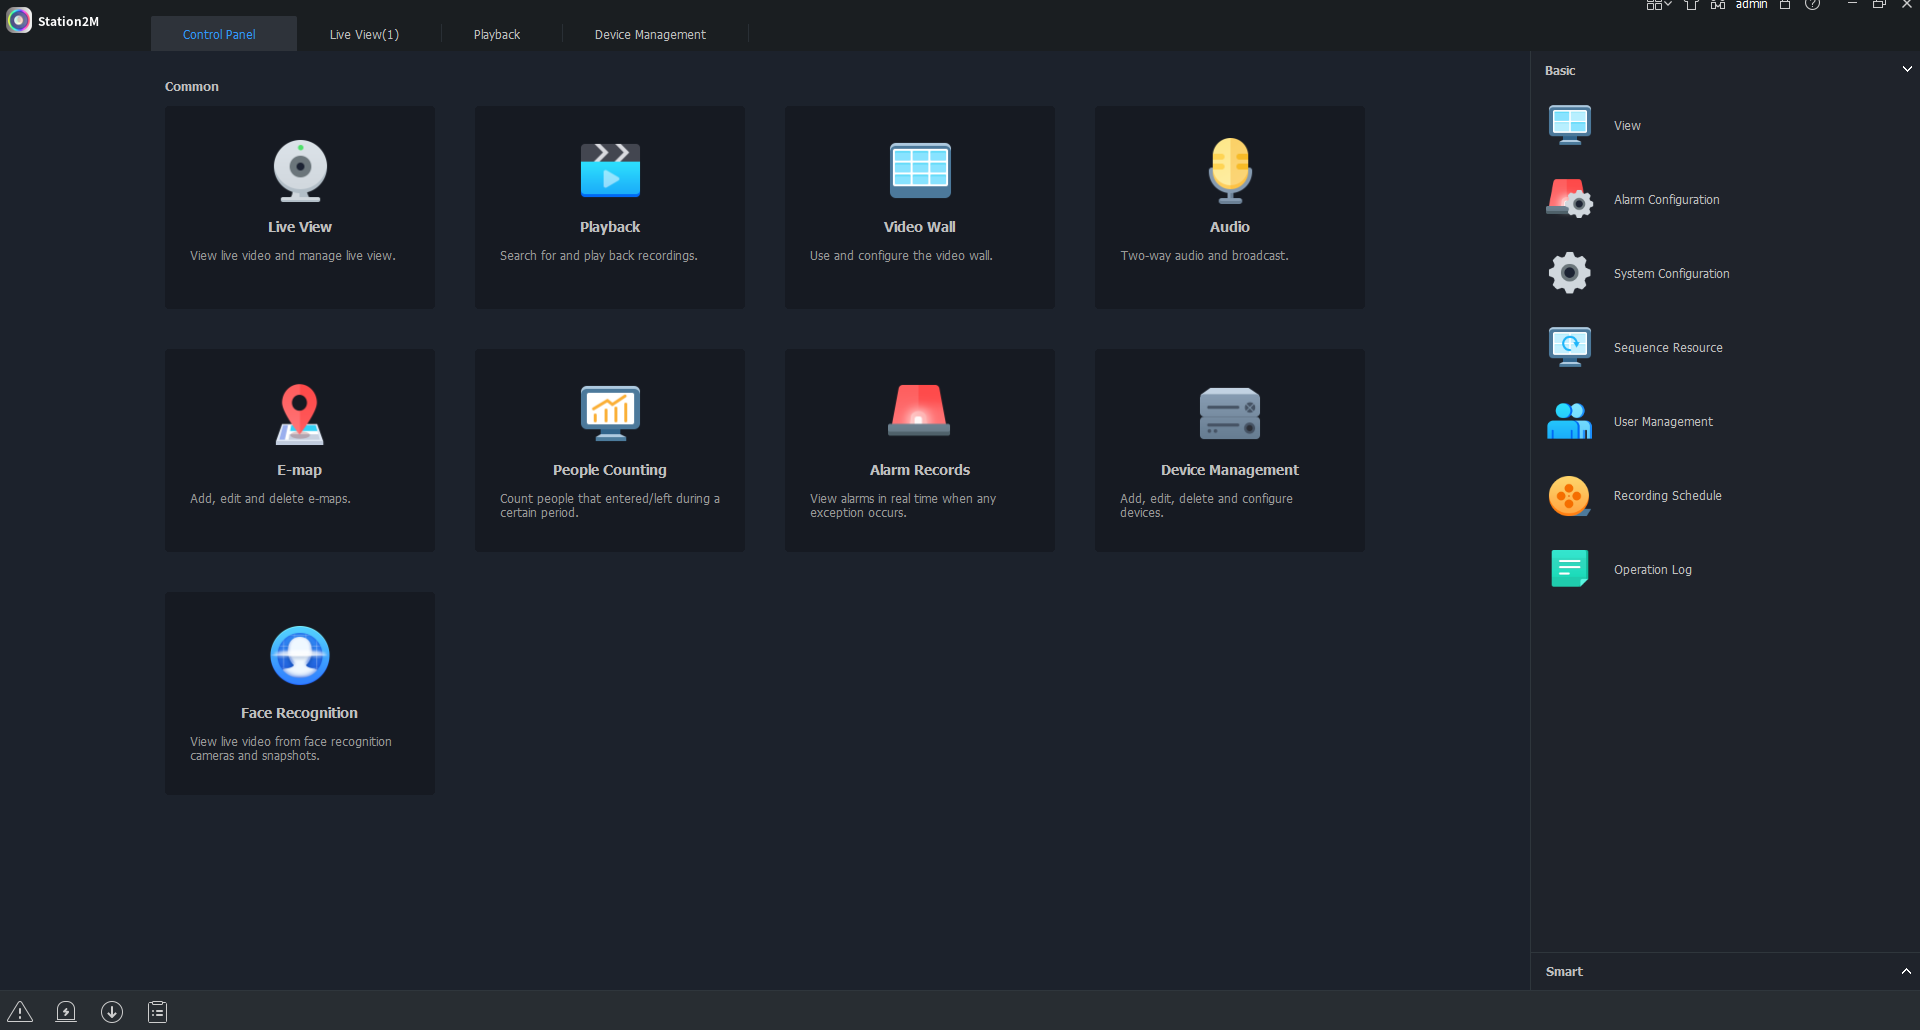
To add an NVR/camera to the software, please click on Device Management:
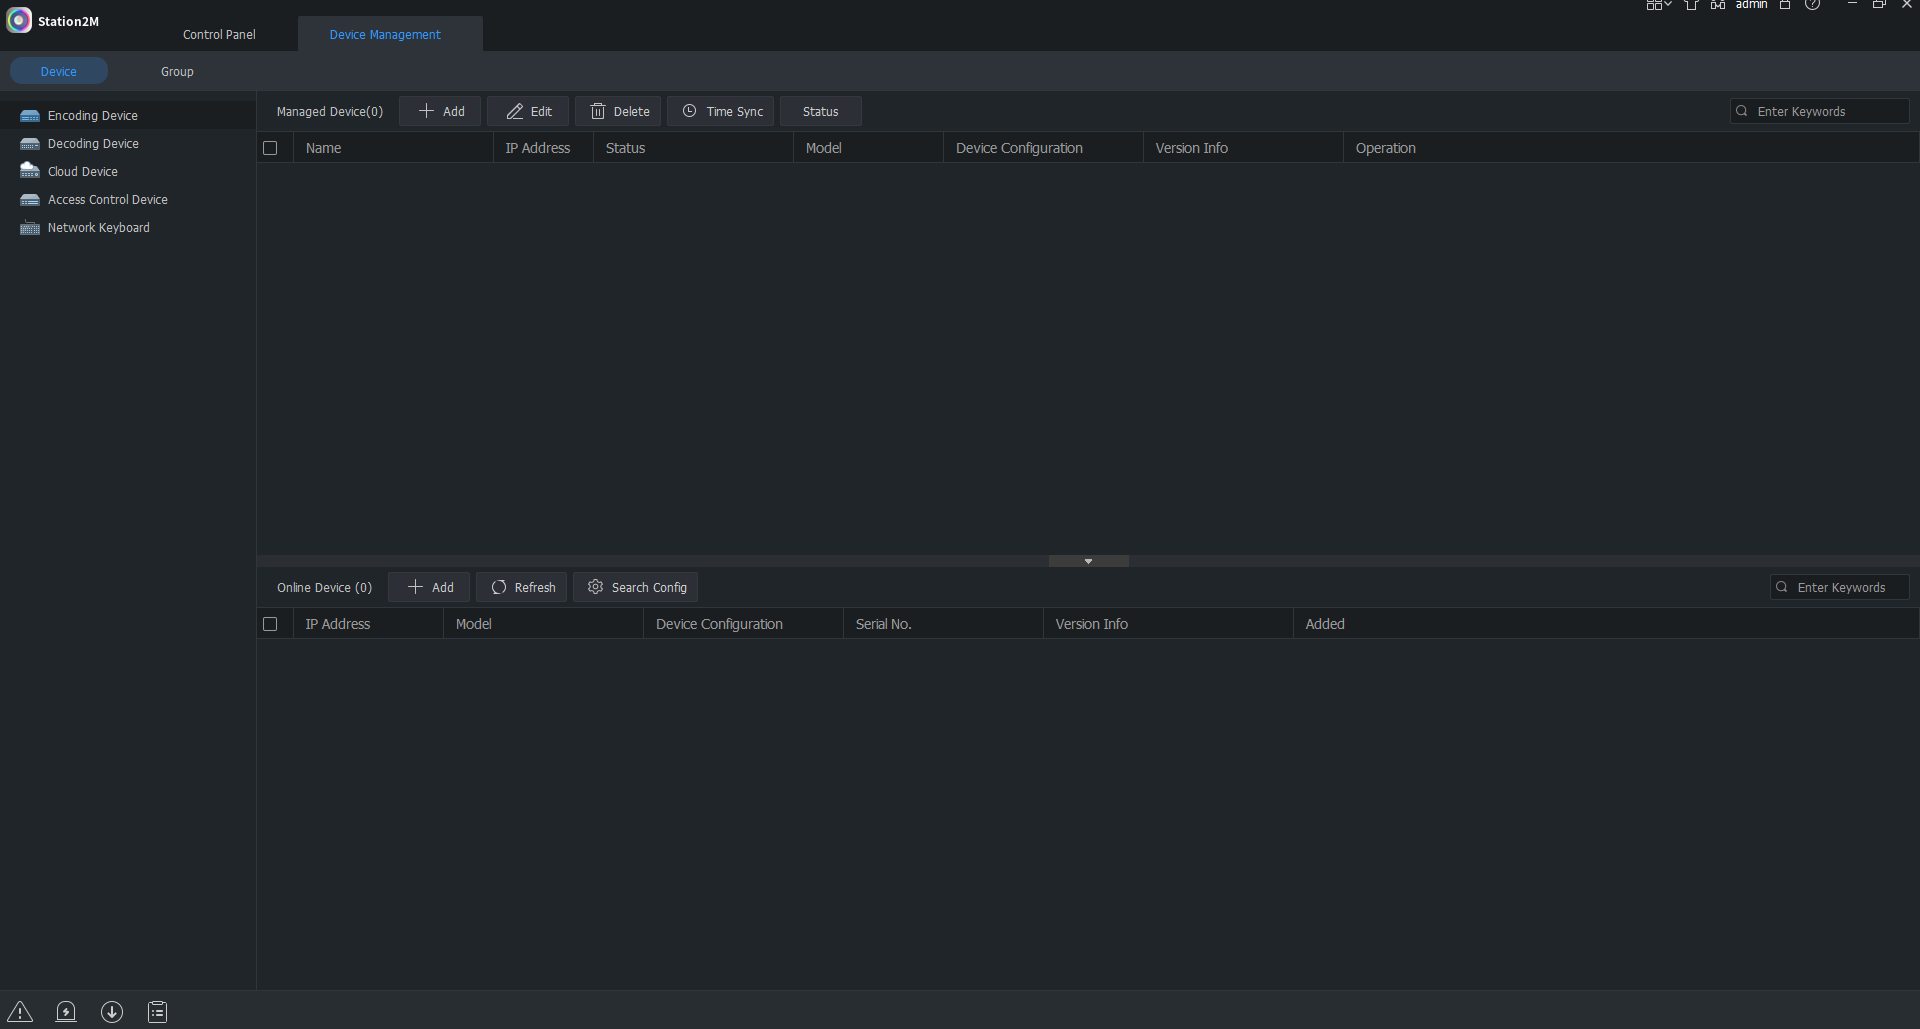
As you can see, on the left side of the screen; there are different options. Make sure that Enconding Device is selected. It will show at the bottom of the screen any devices that are online as long as the computer is on the same network as the devices.
There are two methods to add an online device. The first method is fairly simple. All you need to do is check the box for the NVR that shows under Online Device and then click Add. The second method to adding an online device is to manually add it. First click on Add next to Managed Device, and it will open another window where you can input the details of your device. It will ask for:
- Device Name → can be any name for your device
- IP/Domain → local or public IP address of NVR
- Port → port number of NVR
- Username → username of NVR
- Password → password of NVR
After putting in all of the correct information of your device, click on Add and then the device should come online.
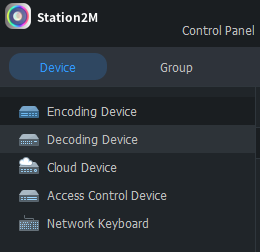
Another method to add a device is by using the P2P method which allows for a user to view their cameras offsite from any location. The device will be added as a Cloud Device instead of an Encoding Device.
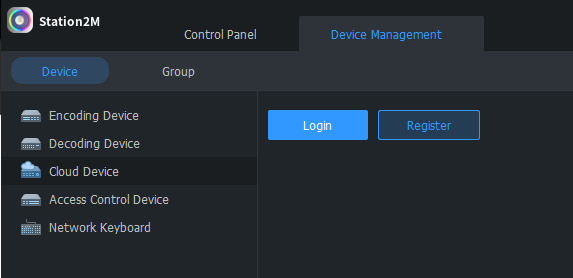
Click on Login button to login to your Star4Live account (This will be the same account that is used for the mobile app: 2M Guard). After logging in, the devices should appear on the following screen like so:
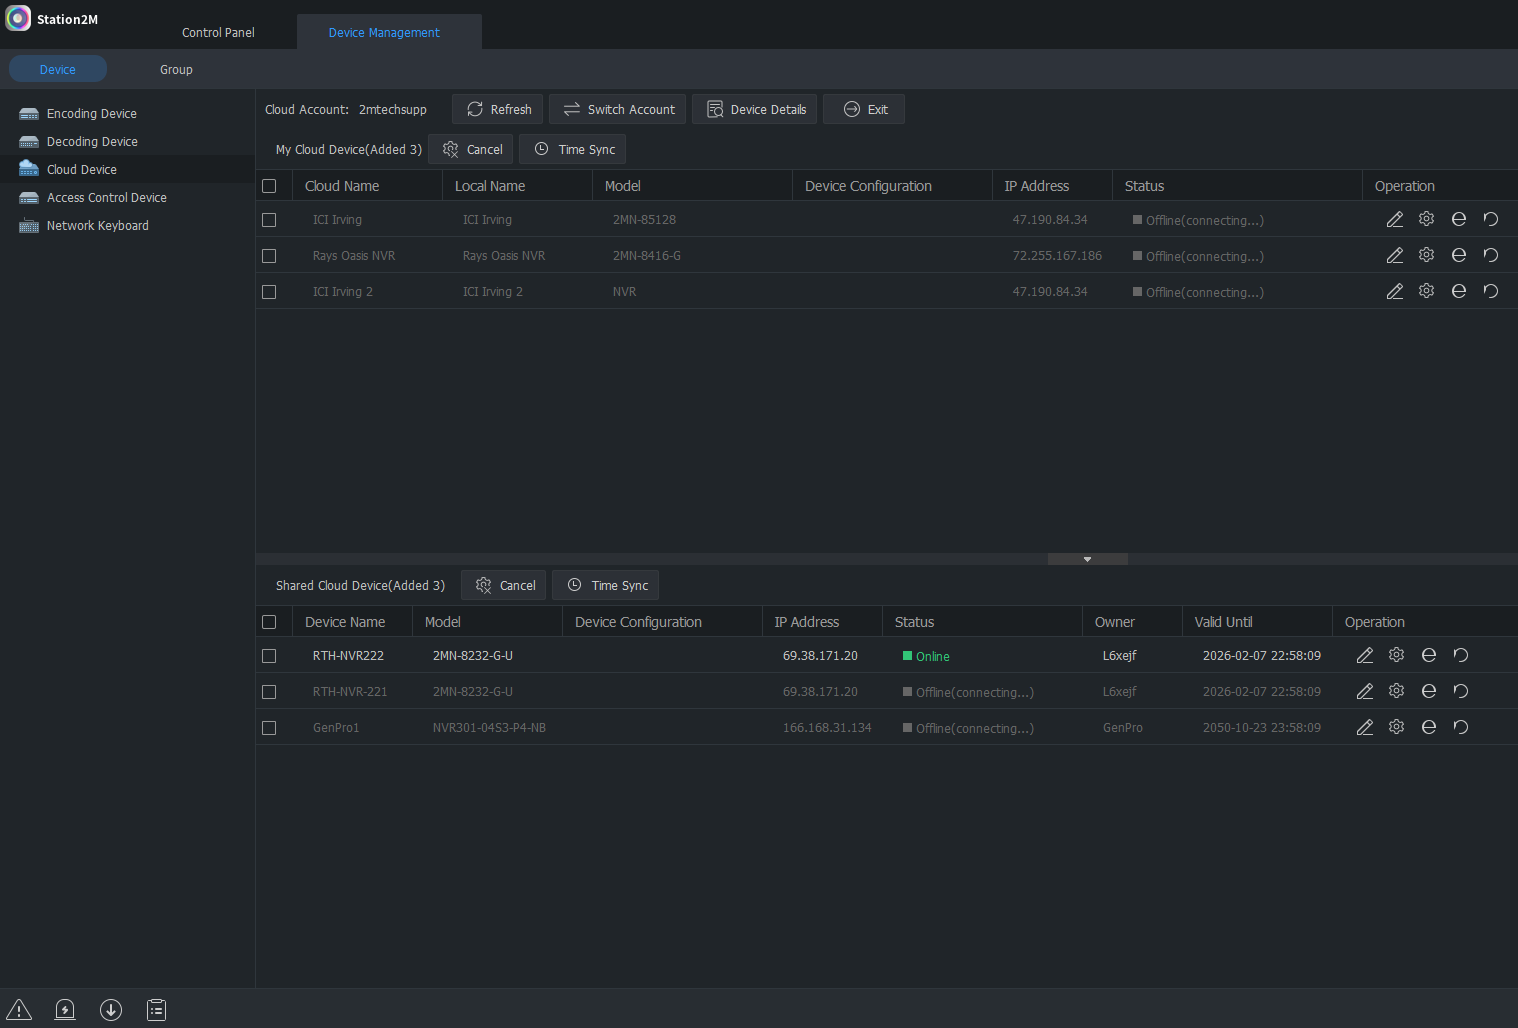
After logging in, the devices might take a minute or two to appear/show online. At first, they will all say Offline (Connecting…), but eventually the status will change to Online on their own.
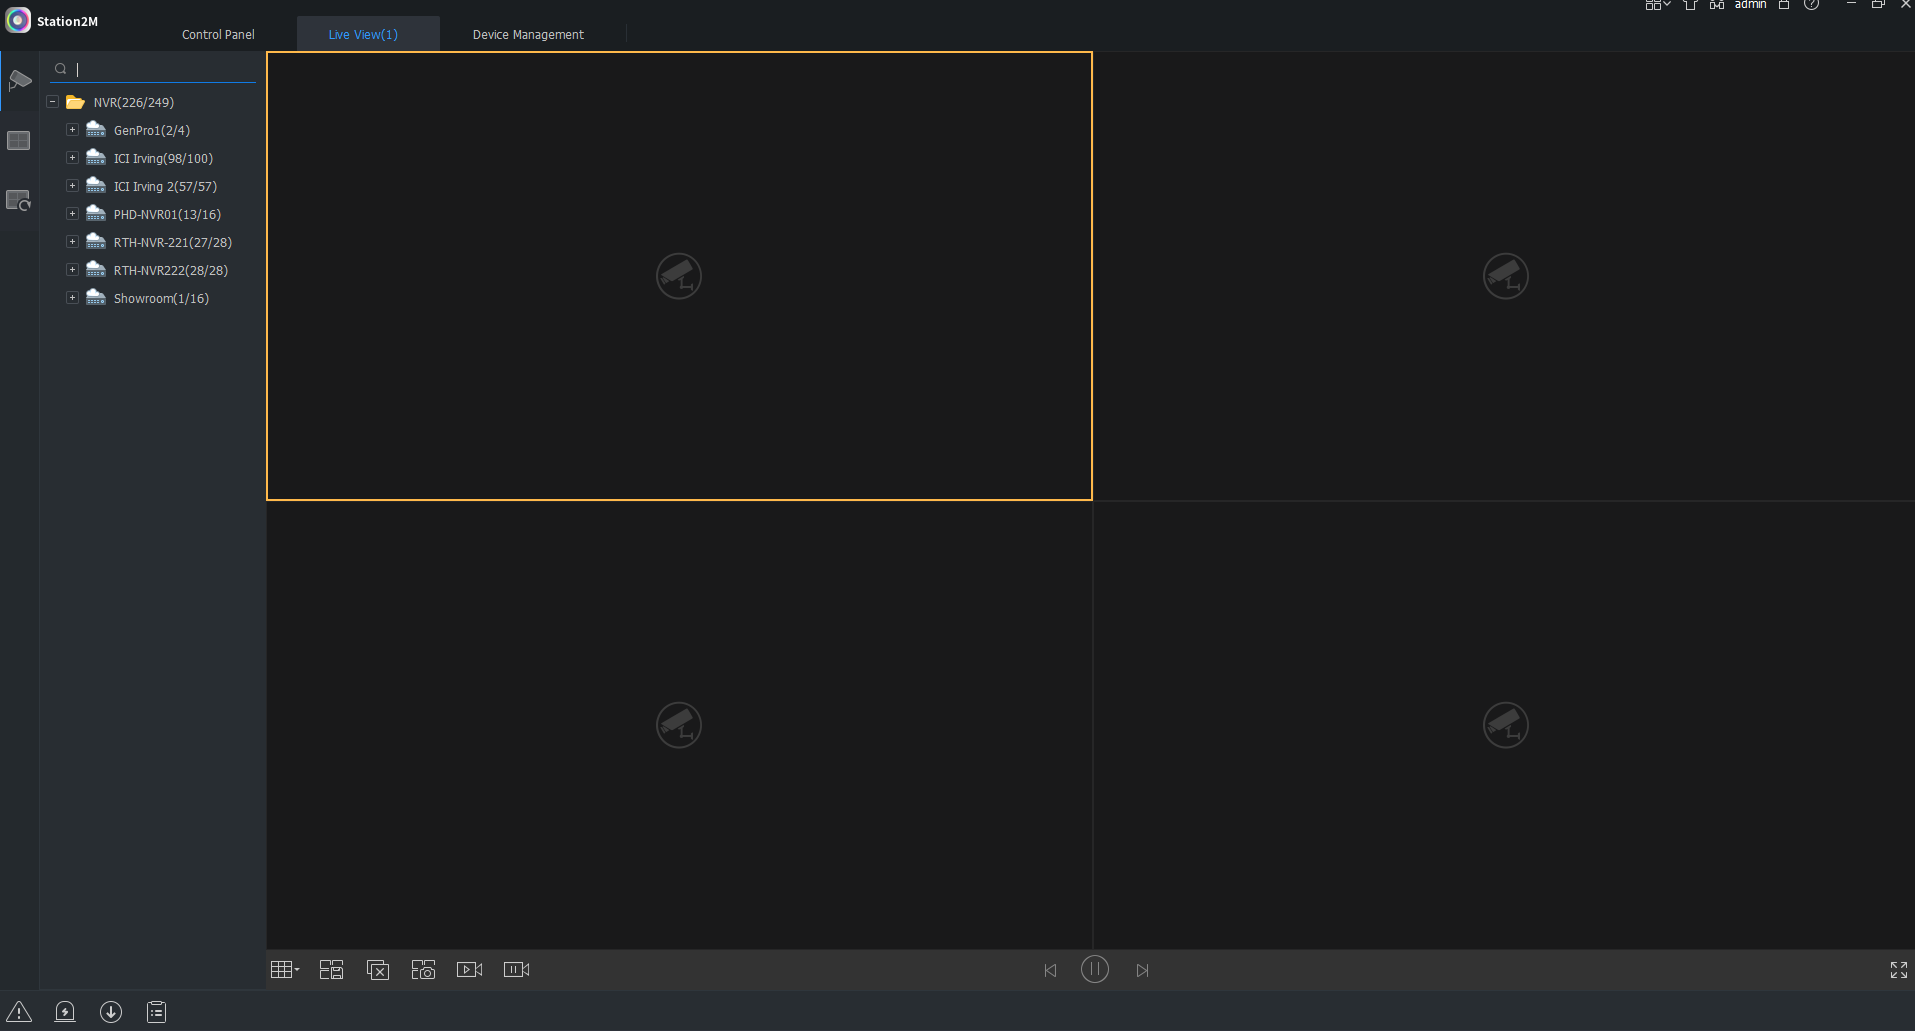
After successfully adding all of your devices, go back to the menu and click on Live View to view your cameras. A list of online devices will show on the left side of the window. Click and drag the device into the window view in order to load all of the video. If not all of the cameras are wanted in view, you can click on the plus sign next to your device and it will show a list of cameras connected to the NVR. You can click and drag specific cameras onto the live view screen.